Milk Chocolate Stuffed Jack-O-Lantern Cookies
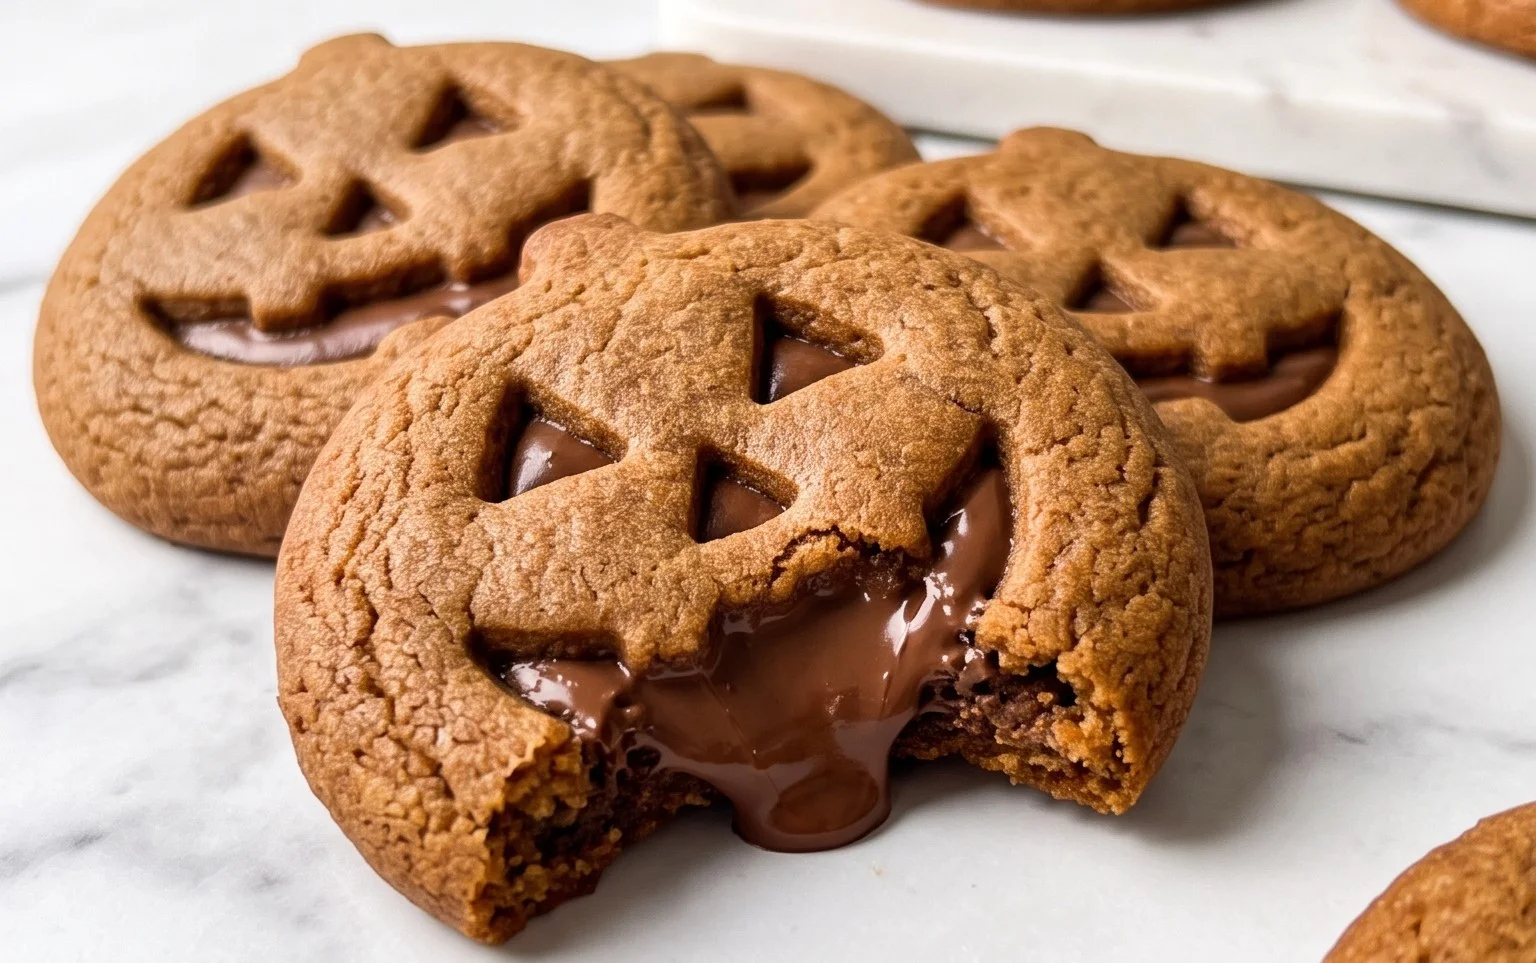
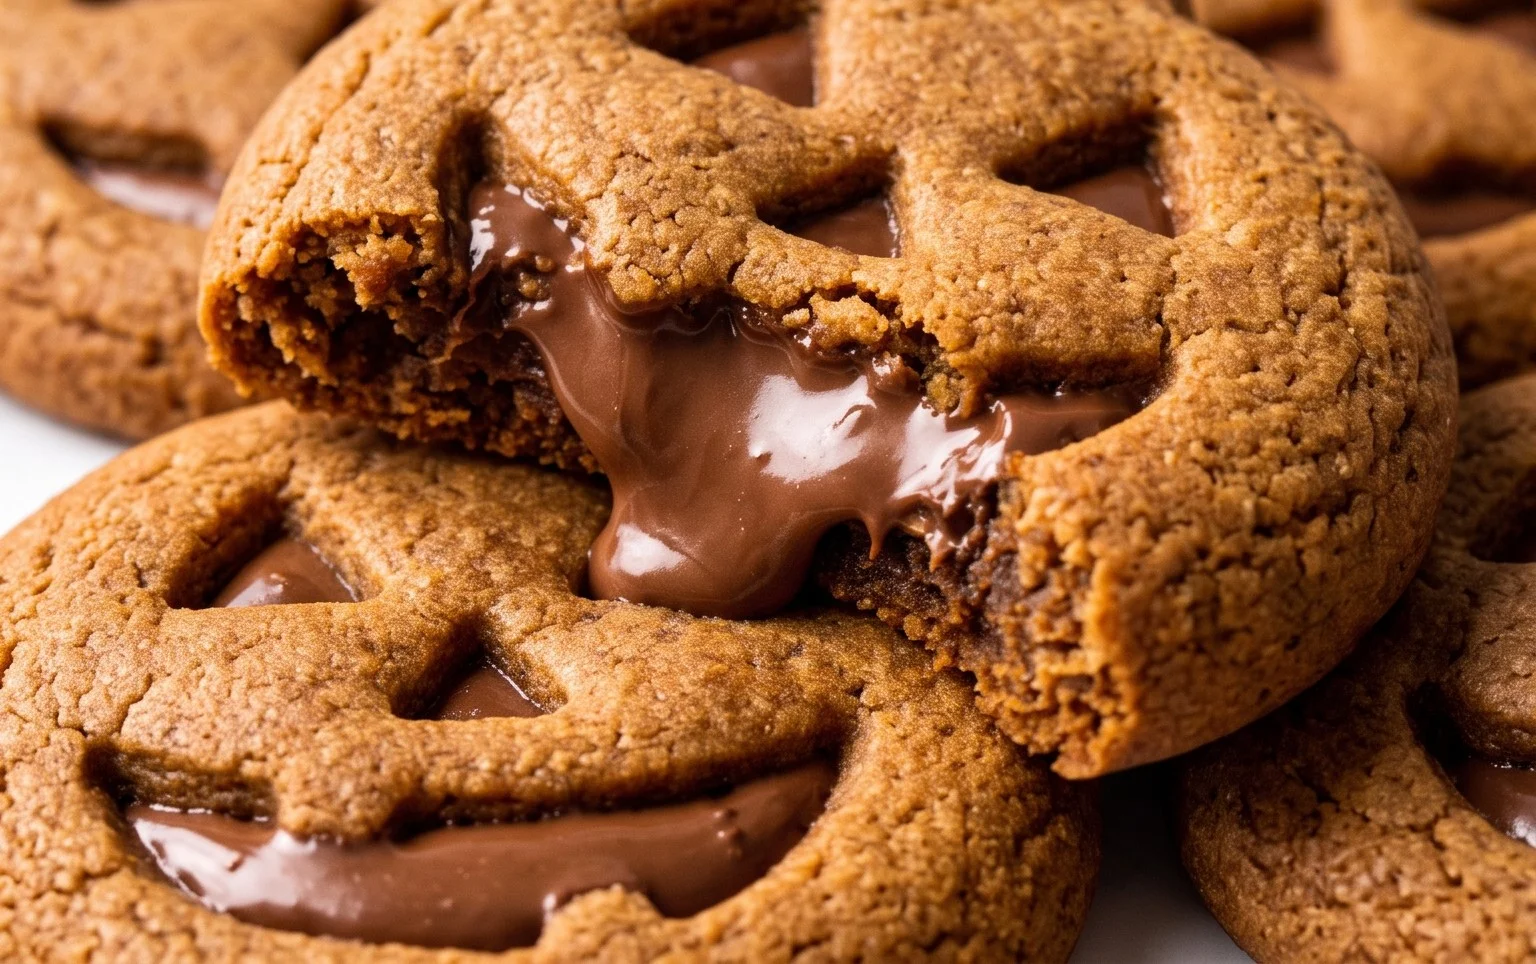
Milk Chocolate Stuffed Jack-O’-Lantern Cookies are the quintessential treat to usher in the spooky season! There’s something undeniably magical about these cookies, isn’t there? We all have those cherished childhood memories of carving pumpkins and the anticipation of trick-or-treating, and these delicious delights perfectly capture that festive spirit. What makes these particular Milk Chocolate Stuffed Jack-O’-Lantern Cookies so special is the delightful surprise hidden within. Imagine a crisp, buttery cookie shell, shaped and decorated like a grinning jack-o’-lantern, giving way to a molten, gooey center of rich milk chocolate. It’s a two-in-one delight – the visual charm of Halloween and the pure indulgence of a chocolatey surprise in every bite. They’re not just cookies; they’re edible art and a guaranteed crowd-pleaser for parties or just a cozy night in.
Milk Chocolate Stuffed Jack-O’-Lantern Cookies
Get ready to carve out some serious deliciousness this Halloween! These Milk Chocolate Stuffed Jack-O’-Lantern Cookies are more than just a treat; they’re a festive centerpiece and a delightful surprise waiting to be discovered. Imagine a warm, soft cookie with a perfectly crisp edge, giving way to a molten river of sweet milk chocolate nestled inside. And the best part? They look just like adorable, edible jack-o’-lanterns, ready to light up your Halloween celebrations. This recipe is designed to be fun for the whole family, with results that are sure to impress even the pickiest little goblins. So, let’s get baking and bring some spooky spirit to your kitchen!
Ingredients:
- 3 sticks (1 1/2 cups) salted butter, softened
- 1 1/4 cups light brown sugar, packed
- 1 tablespoon pure vanilla extract
- 2 eggs, at room temperature
- 4 1/2 cups all-purpose flour
- 1 teaspoon baking soda
- 1 teaspoon cinnamon
- 1/2 teaspoon ginger
- 1/4 teaspoon nutmeg
- 1/2 teaspoon salt
- 12 ounces milk chocolate, melted
- 2 tablespoons salted butter
- 3 tablespoons cinnamon sugar
Instructions:
-
Preparing the Cookie Dough Base
Begin by creaming together your softened butter and packed light brown sugar in a large mixing bowl. I like to use an electric mixer for this, starting on a low speed and gradually increasing it until the mixture is light and fluffy, with no gritty sugar crystals remaining. This process incorporates air, which will contribute to a tender cookie. Next, beat in the pure vanilla extract. Then, add the eggs one at a time, beating well after each addition until fully incorporated. It’s important that your eggs are at room temperature for them to emulsify properly with the butter and sugar mixture, creating a smooth, cohesive base. In a separate medium bowl, whisk together the all-purpose flour, baking soda, cinnamon, ginger, nutmeg, and salt. This dry ingredient mixture is crucial for ensuring even leavening and flavor distribution throughout your cookies. Gradually add the dry ingredients to the wet ingredients, mixing on low speed until just combined. Be careful not to overmix, as this can develop the gluten in the flour too much, leading to tough cookies. The dough will be soft and slightly sticky at this stage.
-
Chilling and Shaping the Dough
This step is critical for handling the dough and preventing excessive spreading during baking. Divide the cookie dough in half, flatten each half into a disc, wrap them tightly in plastic wrap, and refrigerate for at least 2 hours, or until firm. A well-chilled dough is much easier to work with and holds its shape beautifully. Once the dough is firm, you’re ready to start shaping. Scoop out about 2 tablespoons of chilled dough and roll it into a ball. Then, gently flatten the ball into a disc about 1/2 inch thick. Now for the chocolate filling! Take a teaspoon of your melted milk chocolate and place it in the center of the flattened dough disc. You want enough chocolate to create a delightful molten core, but not so much that it will ooze out during baking. Gently fold the edges of the dough up and around the chocolate, pinching them together to completely seal the chocolate inside. Roll the dough gently between your palms to form a smooth, round ball. The key here is to ensure there are no gaps or openings where the chocolate can escape.
-
Creating the Jack-O’-Lantern Features
Once you have your chocolate-filled dough balls, it’s time to give them their iconic jack-o’-lantern faces. Place each dough ball on a baking sheet lined with parchment paper, leaving about 2 inches of space between each cookie to allow for spreading. Now, using a paring knife or a small cookie cutter, gently press out the eyes, nose, and mouth of your jack-o’-lantern. You can be creative here! Simple triangle shapes work well for eyes and noses, and a zig-zag or rounded shape can make for a fun mouth. Remember that the dough will puff up slightly during baking, so don’t press too deeply. You want defined features, but not so deep that they cause the cookie to break apart. If the dough becomes too soft while you’re working, pop the baking sheet back into the refrigerator for about 15-20 minutes to firm it up again.
-
Baking to Golden Perfection
Preheat your oven to 350 degrees Fahrenheit (175 degrees Celsius). Bake the cookies for 10-14 minutes, or until the edges are lightly golden brown and the centers appear set but still slightly soft. The exact baking time will depend on your oven and the size of your cookies, so keep a close eye on them, especially during the last few minutes. Overbaked cookies will lose their delicious chewy texture. As soon as the cookies come out of the oven, they will be very soft. Let them cool on the baking sheet for about 5-7 minutes before attempting to move them. This allows them to set up slightly and prevents them from breaking.
-
The Finishing Touches and Presentation
While the cookies are still warm and slightly soft on the baking sheet, prepare the glaze and cinnamon sugar topping. In a small bowl, melt the 2 tablespoons of salted butter. In a separate shallow dish, mix your 3 tablespoons of cinnamon sugar. While the cookies are still warm, carefully brush the tops of each jack-o’-lantern with the melted butter. This creates a lovely sheen and helps the cinnamon sugar adhere. Immediately sprinkle generously with the cinnamon sugar mixture. The warmth of the cookie will help the sugar melt slightly and create a beautiful, glistening finish. Once they have cooled completely on the baking sheet, you can carefully transfer them to a wire rack to cool completely. These cookies are best enjoyed within a few days of baking and are perfect for a Halloween party, a lunchbox treat, or just a fun afternoon activity. Enjoy the magical surprise of molten milk chocolate with every bite!
Conclusion:
And there you have it! These Milk Chocolate Stuffed Jack-O’-Lantern Cookies are an absolute delight for both the eyes and the taste buds. They’re not just a treat; they’re a celebration of autumn and all the cozy, delicious moments that come with it. The combination of soft, subtly spiced cookie dough embracing a molten milk chocolate center is truly irresistible. Whether you’re baking for a Halloween party, a family gathering, or just because you deserve a sweet indulgence, these cookies are guaranteed to impress. They offer a perfect balance of fun and flavor, making them a standout in any cookie platter.
For serving, I love to enjoy these cookies warm, perhaps with a glass of cold milk or a steaming mug of apple cider. They also make a fantastic dessert centerpiece for any fall-themed get-together. Don’t be afraid to get creative with variations! You could try adding a pinch of cinnamon or nutmeg to the cookie dough for an extra layer of autumnal spice, or experiment with different types of chocolate chips inside, like dark chocolate or even a caramel-filled chip for an added gooey surprise. I truly encourage you to give these Milk Chocolate Stuffed Jack-O’-Lantern Cookies a try – I’m confident you’ll adore them as much as I do!
Frequently Asked Questions:
Can I make these cookies ahead of time?
Absolutely! You can prepare the cookie dough balls and refrigerate them for up to 2 days, or freeze them for up to 3 months. Just allow them to come to room temperature for about 15-20 minutes before baking if refrigerated, or bake directly from frozen, adding a few extra minutes to the baking time.
What’s the best way to store leftover cookies?
Store any leftover cookies in an airtight container at room temperature for up to 3-4 days. They tend to stay wonderfully soft and delicious!
My jack-o’-lantern faces aren’t very clear. What did I do wrong?
Don’t worry, it happens! For clearer faces, ensure your dough is well-chilled before shaping. Also, consider using a slightly firmer cookie dough. You can gently re-carve or press the features after the cookies have baked for a few minutes and are still soft, but be careful not to burn yourself.
Milk Chocolate Stuffed Jack-O’-Lantern Cookies
Festive and decadent cookies featuring a creamy milk chocolate filling, shaped like jack-o’-lanterns and topped with a cinnamon sugar glaze.
Ingredients
-
3 sticks (1 1/2 cups) salted butter, softened
-
1 1/4 cups light brown sugar, packed
-
1 tablespoon pure vanilla extract
-
2 eggs, at room temperature
-
4 1/2 cups all-purpose flour
-
1 teaspoon baking soda
-
1 teaspoon cinnamon
-
1/2 teaspoon ginger
-
1/4 teaspoon nutmeg
-
1/2 teaspoon salt
-
12 ounces milk chocolate, melted
-
2 tablespoons salted butter
-
3 tablespoons cinnamon sugar
Instructions
-
Step 1
Cream together softened butter and brown sugar until light and fluffy. Beat in vanilla extract and eggs one at a time. -
Step 2
In a separate bowl, whisk together flour, baking soda, cinnamon, ginger, nutmeg, and salt. -
Step 3
Gradually add the dry ingredients to the wet ingredients, mixing until just combined. Chill dough for 30 minutes. -
Step 4
Divide dough in half. Roll each half into a ball, then flatten into a disk. Spoon 2 tablespoons of melted milk chocolate onto the center of one disk. Top with the second disk and seal the edges to create a stuffed cookie. -
Step 5
Shape each cookie into a jack-o’-lantern face using a knife or spatula. -
Step 6
Bake at 375°F (190°C) for 8-10 minutes, or until edges are lightly golden. -
Step 7
While cookies are cooling, melt 2 tablespoons of butter. Dip the top of each warm cookie into the melted butter, then immediately into the cinnamon sugar mixture.
Important Information
Nutrition Facts (Per Serving)
It is important to consider this information as approximate and not to use it as definitive health advice.
Allergy Information
Please check ingredients for potential allergens and consult a health professional if in doubt.